Access all In Easy Steps books for just £5 a month
Menu
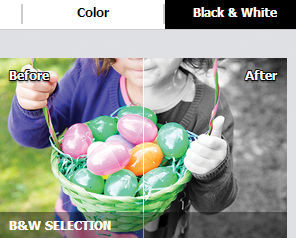
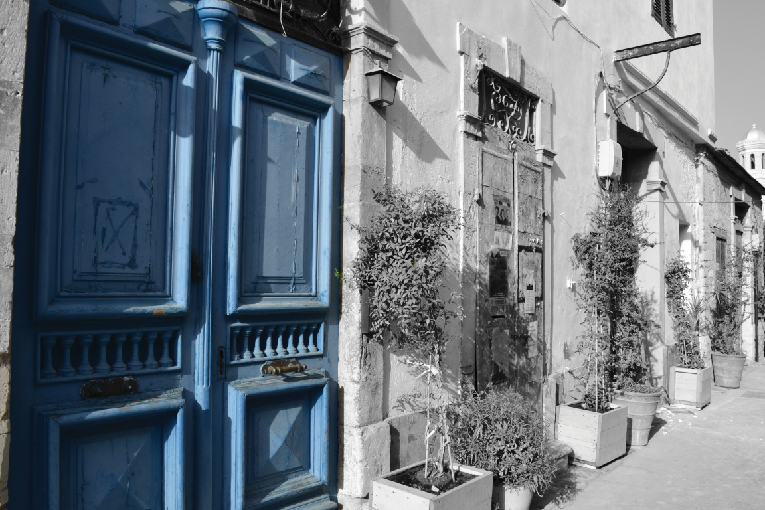
A popular photo effect is to make part of an image black and white, leaving one element in color. To do this:
Step 1
Open an image to which you want to apply the black and white effect

Step 2
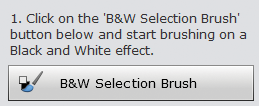
Access Guided edit mode. In the Black & White section, click on the B&W Selection button

Step 3
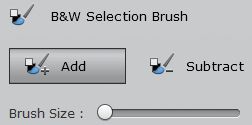
Click on the B&W Selection Brush button and drag it over the area you want to select
Step 4
Click on the Add or Subtract buttons to add or remove areas of the selection
Step 5
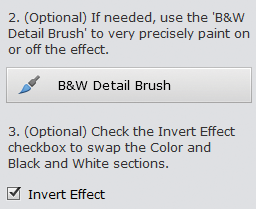
The area selected will be in black and white. To leave it in color and make the rest of the image black and white, check On the Invert Effect button
Step 6
Click on the Next button to access the options for saving the final image
Other Black & White Guided edits include B&W Color Pop (highlighting a single color in a photo), High Key, Line Drawing and Low Key.
To convert a photo to standard black and white, select Enhance > Convert to Black and White from the Menu bar in Expert or Quick edit mode.
… and it’s as easy as that!

For the complete guide to Photoshop Elements, all in the trusted In Easy Steps style, click here.
Photoshop Elements Tips, Tricks and Shortcuts in easy steps not only offers a comprehensive guide to getting up and running with the software, but goes further: providing a wealth of detail in ways to progress to more advanced photo-editing and even revealing some hidden secrets!