Access all In Easy Steps books for just £5 a month
Menu
One of the most popular techniques in digital imaging is removing unwanted items, particularly physical blemishes such as spots and wrinkles. This can be done with the Clone tool but the effects can sometimes be too harsh, as a single area is copied over the affected item. A more subtle effect can be achieved with the Healing Brush and the Spot Healing Brush tools. The Healing Brush can be used to remove blemishes over larger areas such as wrinkles:
Step 1: Open an image with blemishes covering a reasonably large area; i.e. more than a single spot
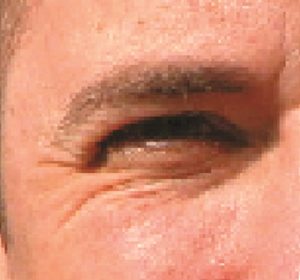
Step 2: Select the Healing Brush tool from the Toolbox and make the required selections in the Tool Options bar
![]()

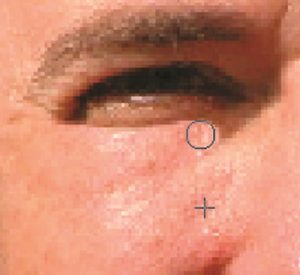
Step 3: Hold down Alt and click on an area of the image to load the Healing Brush tool. Drag over the affected area. The cross is the area that is copied beneath the circle. At this point the overall tone is not perfect and looks too pink
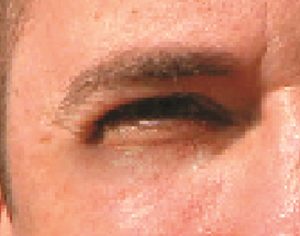
Step 4: Release the mouse, and the Healing Brush blends the affected area with the one that was copied over it. This creates a much more natural skin tone

![]() The Spot Healing Brush tool can be used to remove items such as small blemishes or spots.
The Spot Healing Brush tool can be used to remove items such as small blemishes or spots.
Click on this button in the Healing Brush Tool Options bar, and drag it over the affected area to remove it. When dragging over a blemish with the Spot Healing Brush Tool, make sure the brush size is larger than the area of the blemish. This will ensure that you can cover the blemish in a single stroke.
Photoshop Elements Tips, Tricks & Shortcuts in easy steps is now available to purchase from the In Easy Steps online shop. Over 1000 tips, tricks and shortcuts to help you get the most out of Adobe’s Photoshop Elements!