Access all In Easy Steps books for just £5 a month
Menu
Step 1
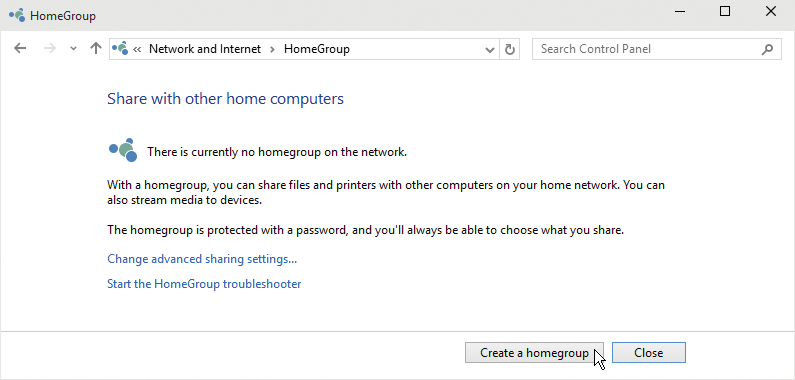
Go to the Control Panel, Network and internet. Then click HomeGroup

Step 2
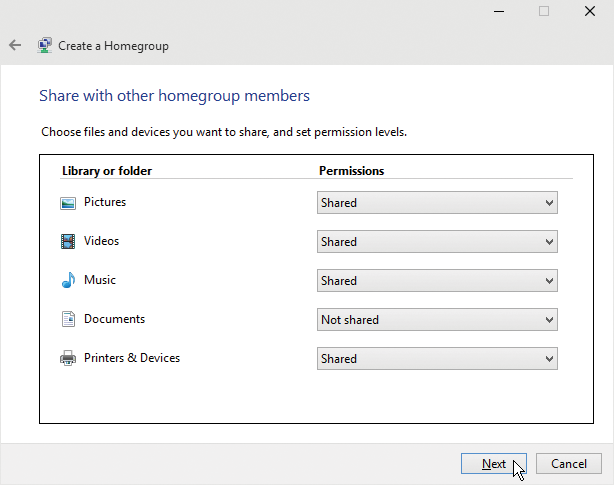
Click Create a homegroup and in the next window click Next. You’ll then see the window below, from where you can choose what to share on the network
Step 3
You will now see a screen that provides the password needed for other computers to join the HomeGroup
Step 4
Record the password and click Finish. A HomeGroup has been created

You can view or change the password from the Network and Sharing Center or from the Control Panel.
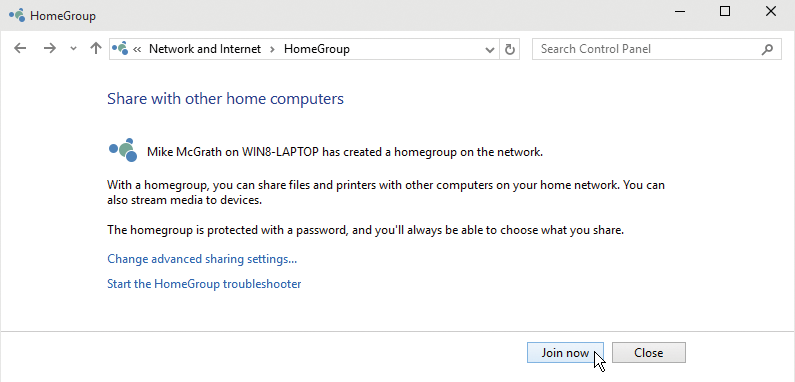
When you connect to a Home network which already has a HomeGroup, you are invited to join.
Step 1
Click the Join now button
Step 2
Select what you want to share and click Next
Step 3
Type the password and click Next
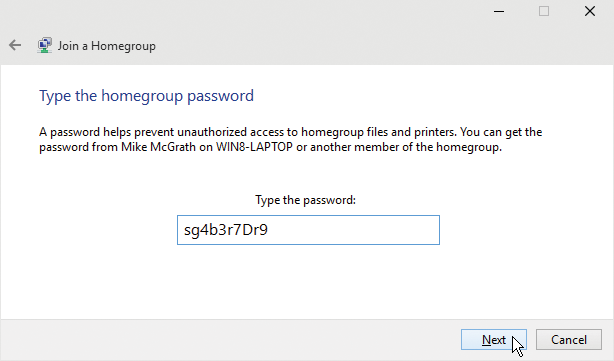
If the HomeGroup was created by another user on the network, you must be given the password to be able to participate.
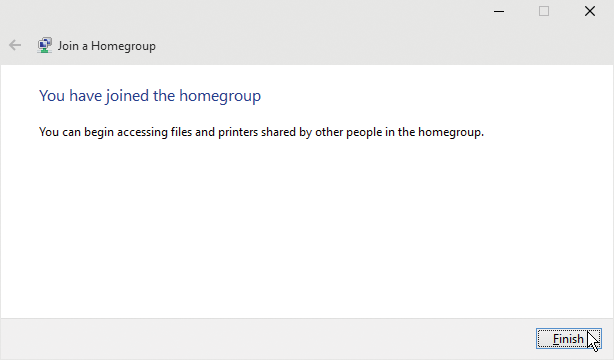
Step 4
You have joined the HomeGroup

For the complete, Special Edition guide to Windows 10, all in the trusted In Easy Steps style, click here. Whether you’re upgrading to Windows 10 from a previous version or using it for the very first time, Windows 10 in easy steps – Special Edition will guide you through the key features so you’ll be a pro in no time at all!